
- ✅ Can’t be blocked by ad blockers
- ✅ Guarantees delivery of tracking events
- ✅ Confirms actions before tracking (e.g., payment verified)
- ✅ Works with webhooks from payment providers
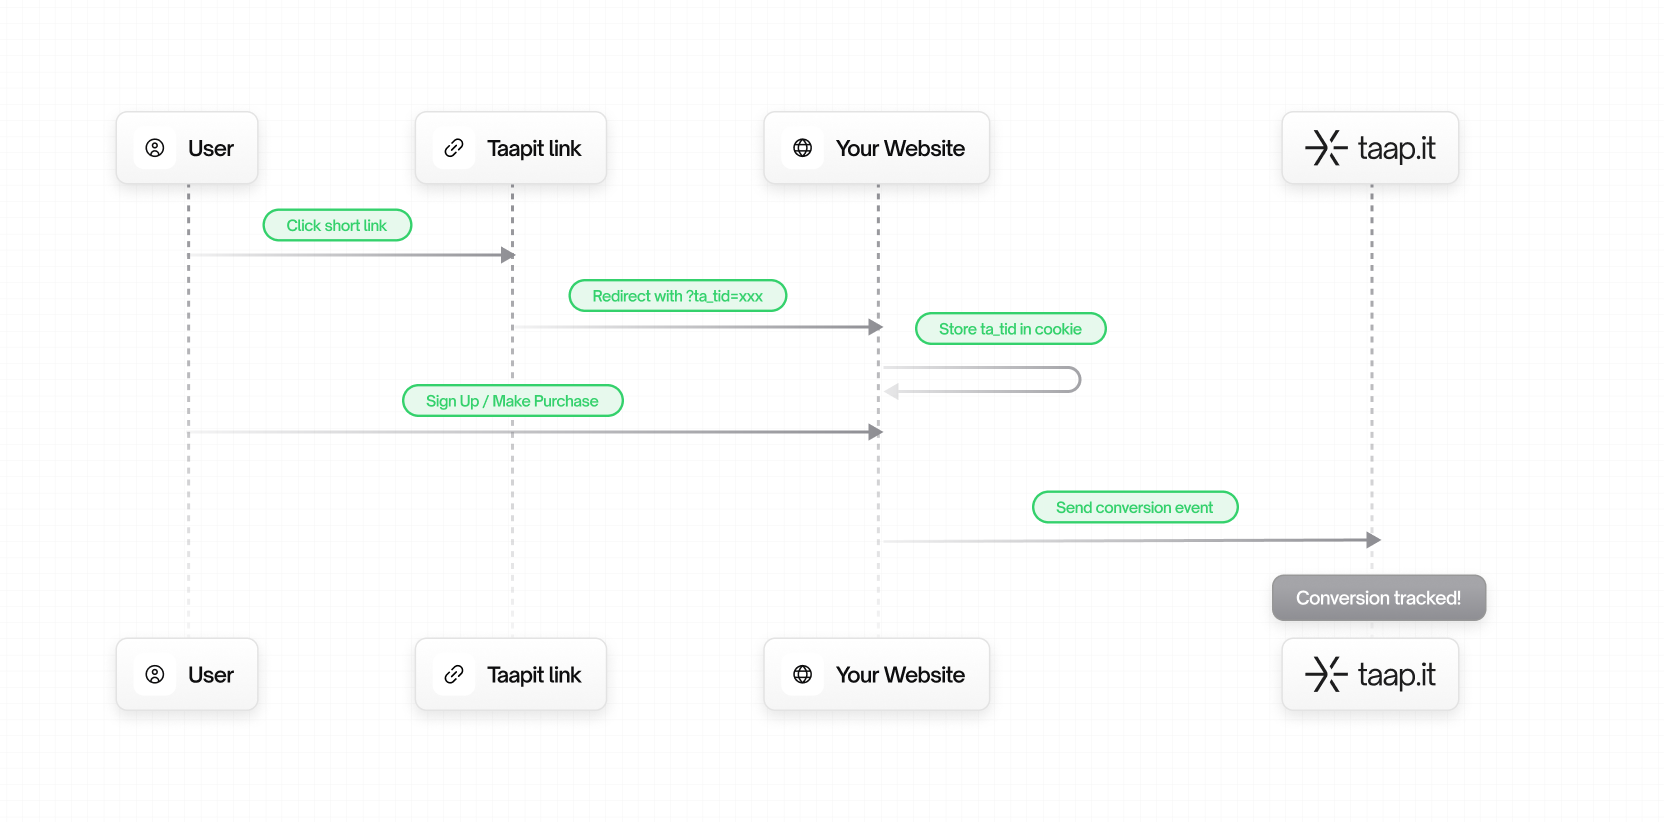
How It Works
Prerequisites
Before you start:- Create a Taapit deeplink pointing to your website or landing page
- Enable conversion tracking on your link:
- Go to your link settings in the Taapit dashboard
- Enable Conversion Tracking
- Get your Secret Key from Settings → Conversion in your Taapit dashboard
Installation
- NPM Package (React/Next.js)
- Script Tag + REST API
Track a Lead
- Node.js SDK
- Python
- PHP
- Ruby
- Go
Track a Sale
trackingId for sales: If the customer was already tracked via a lead
event, the trackingId is optional for sale events. You only need to
provide the customerExternalId to link the sale to the existing customer. If
this is a new customer (no prior lead), trackingId is required.- Node.js SDK
- REST API
API Reference
Endpoints
Authentication
Request Body
When is
trackingId required? - Lead events: trackingId is always
required - Sale events: - If the customerExternalId was already
tracked (via a previous lead event), trackingId is optional - If this is
a new customer (no prior lead event), trackingId is required to create
the customer recordResponse
Best Practices
1. Get tracking ID from multiple sources
2. Always track after confirmation
3. Store tracking ID for later use
4. Log tracking failures
Next Steps
Stripe Integration
Automatic tracking for Stripe (even simpler).
Track Lead API
Full API documentation for leads.
Track Sale API
Full API documentation for sales.